Configuring Credit Matrix
The Universal Configuration Tool (UCT) allows the creation of a Credit Matrix configuration. At least one valid configuration in the UCT is required before using the Credit Matrix services.
Steps to Create Credit Matrix Configuration
To create a new configuration, follow these steps:
- Login to the UCT tool, and from the Configuration dashboard, click Create new configuration.

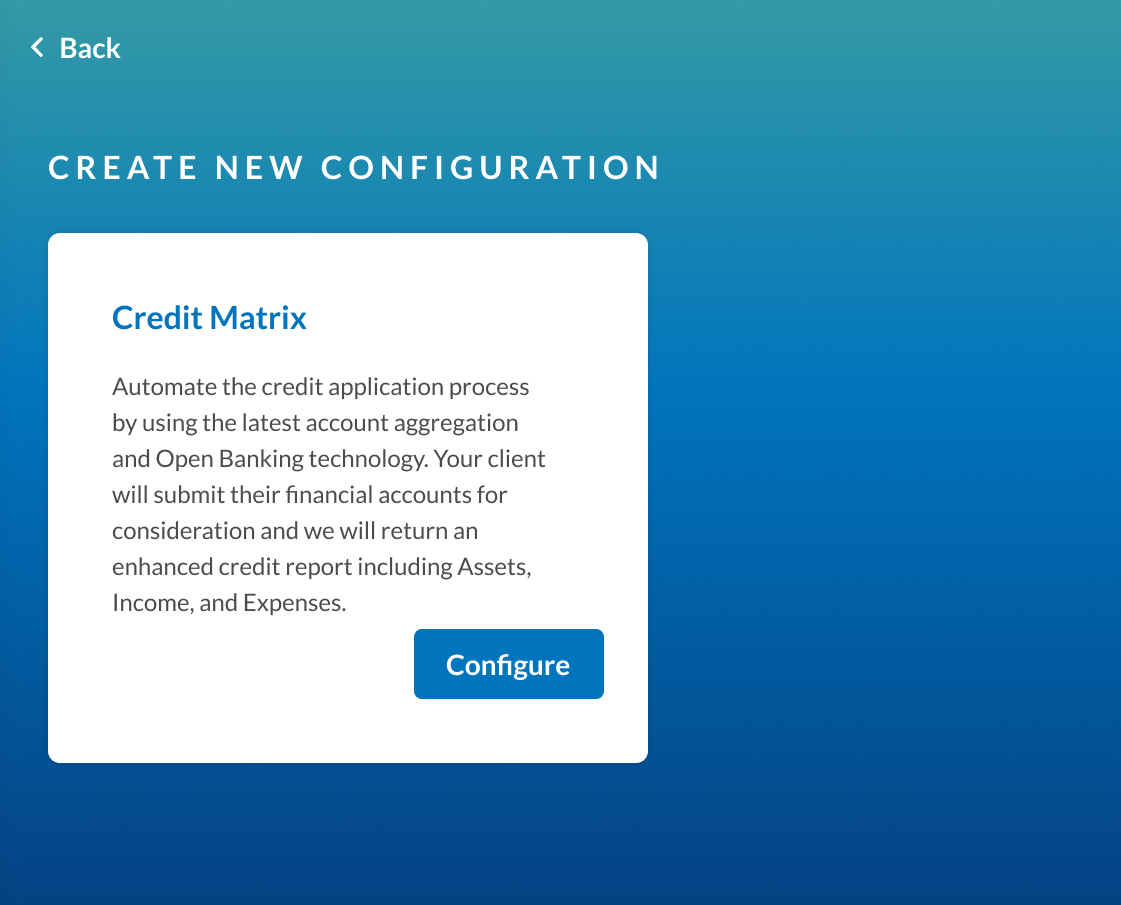
- In the Credit Matrix product card, click Configure.
- In the Create New Configuration dialog box, provide a name for the Credit Matrix configuration, select the report template, and click Continue.
This name will be returned asconfigNamein the Credit Matrix API services to identify for which configuration the Credit Matrix report was generated.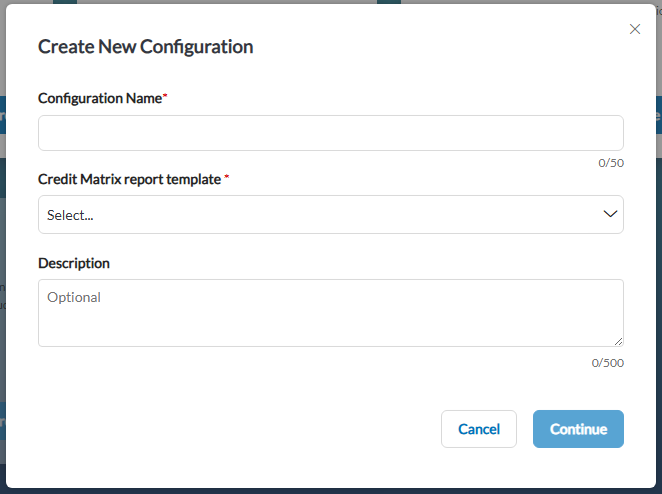
- After the configuration is created, from the Configuration dashboard, click Edit next to the desired configuration.
- Click Global Settings and in Preferred Company name, type your company name.
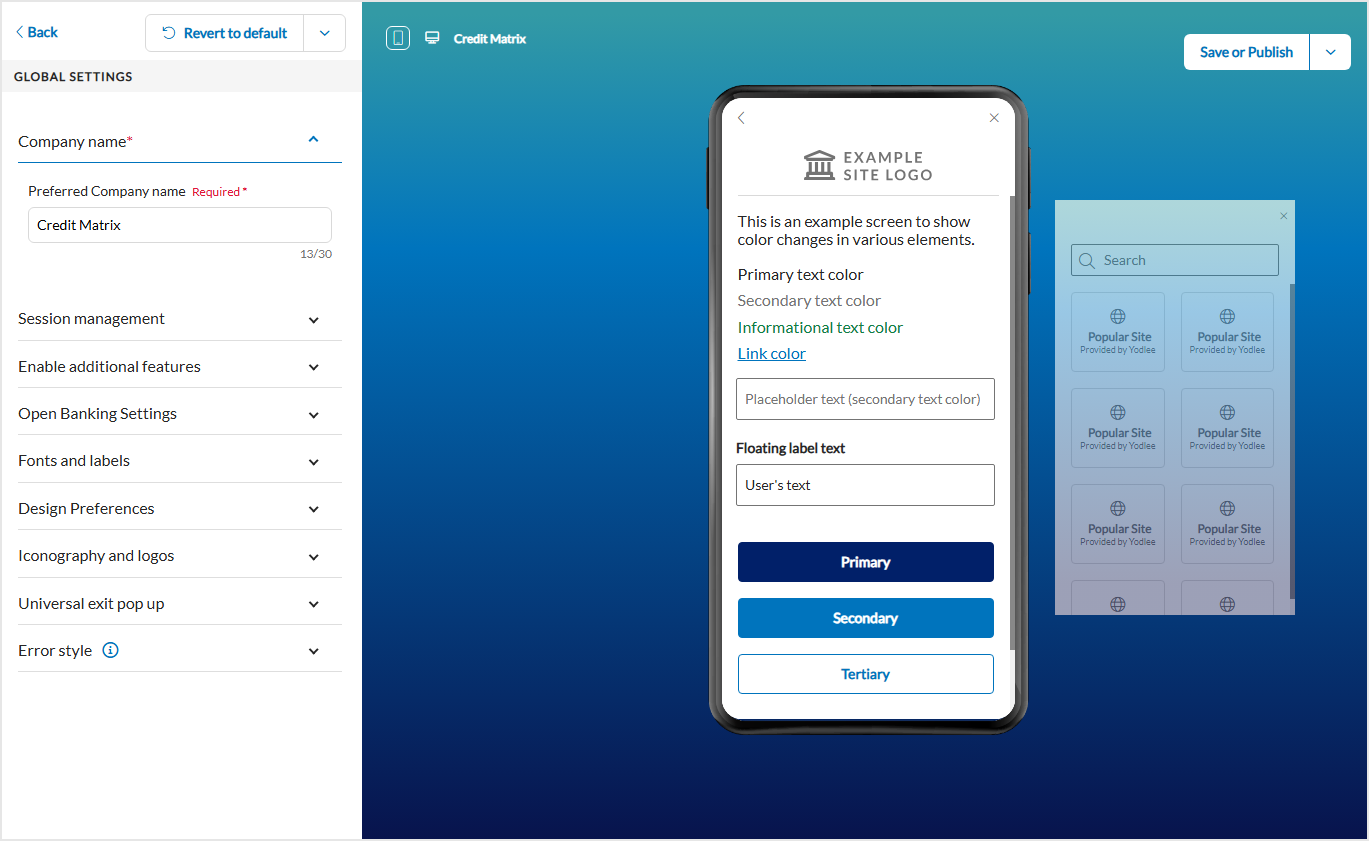
Customize the look and feel of every screen to seamlessly fit with your existing client experience. You can edit font, text, button shape, colors, etc. In addition, also customize the Credit Matrix report. Define high and low balance warnings and upload a logo and name to the PDF.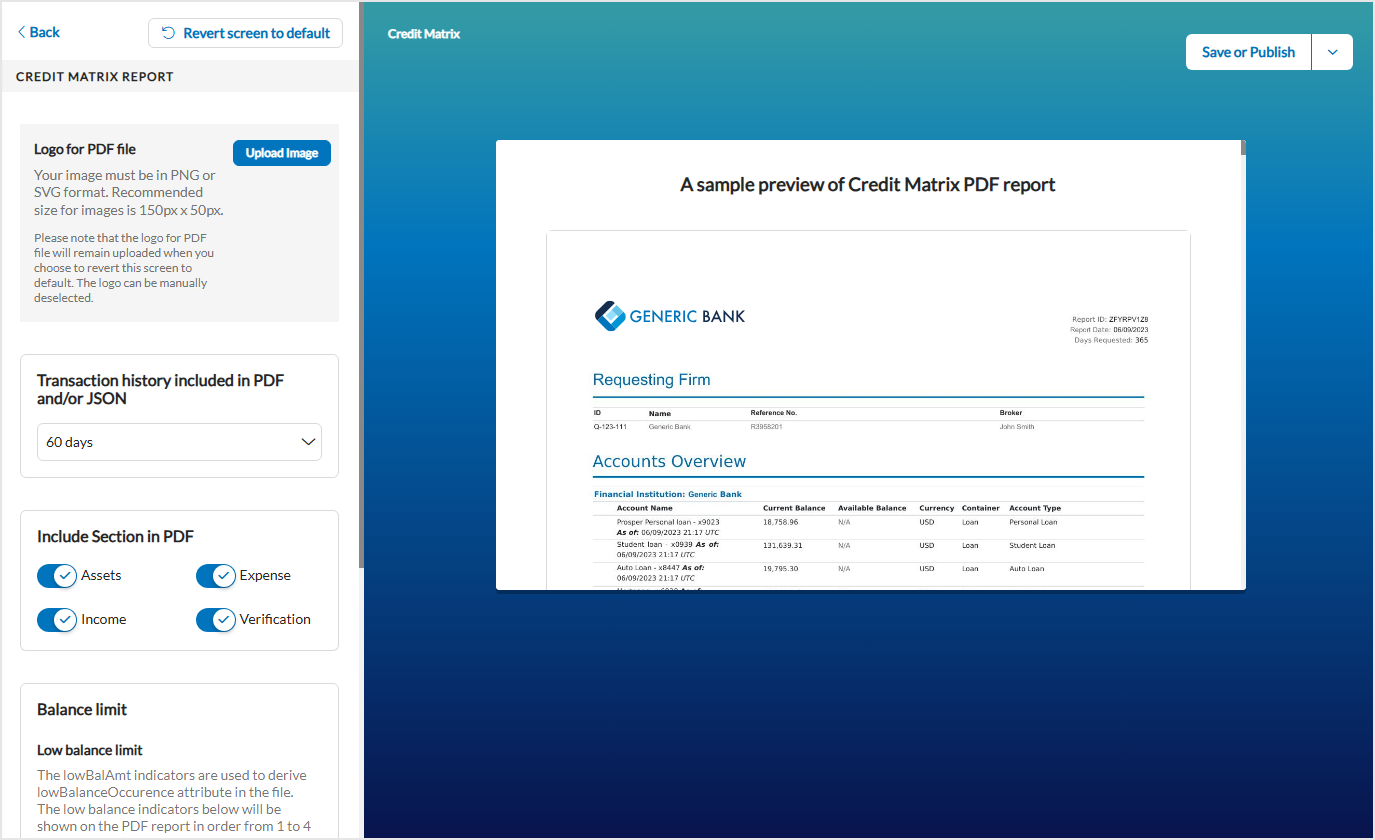
- Click Save or Publish and then click Save Configuration to save the configuration and then publish to development to finish the configuration process.
For more information, refer to Configuration Tool Demo and FastLink Demo.
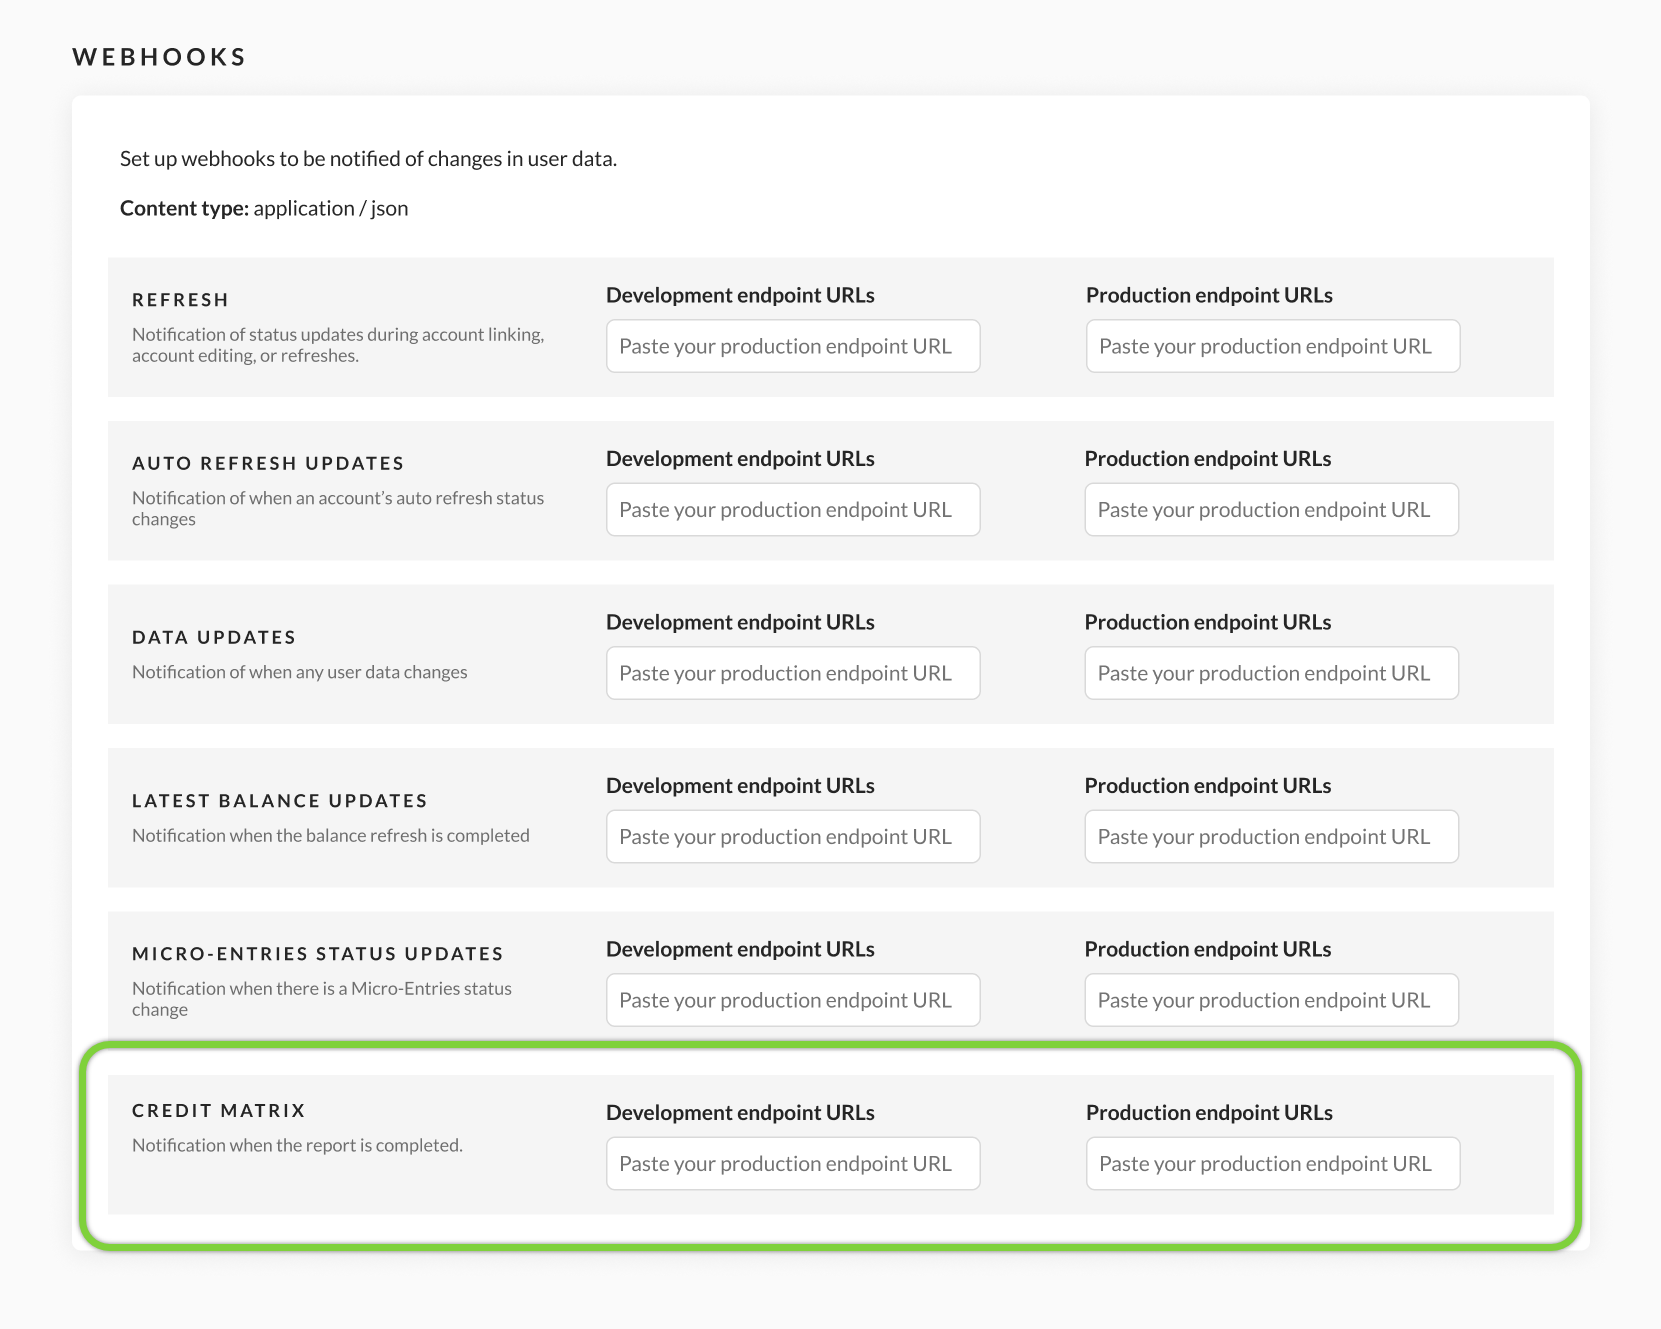
Subscribe to the Credit Matrix Webhooks
To subscribe to the Credit Matrix webhook in the Configuration Tool, follow these steps:
- From the Configuration dashboard, click Launch Tools.
- Click Webhooks and Type the desired development and production endpoints for Credit Matrix event.
Sample Notification Payload:
{
   "event":{
      "notificationId":"7bf37a56-7737-4efa-9761-62e680af2e1c",
      "info":"CREDIT_MATRIX_REPORT_UPDATES",
      "notificationTime":"2025-01-01T05:10:46Z",
      "loginName":"KT397",
      "data":{
         "reportId":"FRA36QIW2",
         "originalReportId":"FRA36QIVV",
         "configName":"CreditReport",
         "status":"COMPLETED", //SUBMITED, PARTIALLY_COMPLETED, COMPLETED, FAILED
         "additionalStatus":{
            "baseReport":"SUCCESS", //SUBMITTED, FAILED
            "pdfReport":"SUCCESS" //SUBMITTED, IN_PROGRESS, FAILED
         },
         "submissionDate":"2025-01-01T05:10:46Z"
      }
   }
}
Attributes in the payload and their descriptions follows:
| Event Attributes Name | Description |
|---|---|
| notificationId | Unique identifier for the notification. |
| info | The info attribute value will be CREDIT_MATRIX_REPORT_UPDATES. |
| notificationTime | The time of the notification in UTC format. |
| loginName | The login name of the user. |
| data.reportId | Unique identifier for the Credit Matrix report request. |
| data.originalReportId | The initial identifier for the Credit Matrix report request. If it exists, the fields will be included in the payload; if not, they will not be displayed. |
| data.configName | The name of client-created Credit Matrix configuration instance in UCT. |
| data.status | The status of the Credit Matrix report generation. Possible values are:
|
| data.additionalStatus | The additional status of the Credit Matrix report base and PDF report.
|
| data.submissionDate | The date when the request was submitted in UTC format. |